Steam Arm R&R
Note: If you purchased your S1 after
2/20/2004, your unit should have shipped with this arm and a three hole tip.
The new La Spaziale S1 Steam Arm is here and it is
great. It allows steaming at either the front or off to the left side. In either
position the steam arm can now be inserted perpendicular to the milk! More
stowing options are also available. Lastly, the steam tip seems to be flush with
the end of the steam arm so that a quick wipe down does a much better clean up job! This
wand is included on machines shipping on or after 2/20/2004. Earlier machines
can be upgraded as shown in the text and photos below.
Those of you thinking about
purchasing the La Spaziale S1 may be interested in these photos since the ones
on Chris Coffee web site still show the original steam arm. If you order an S1
now you will get the new arm shown in these photos plus a 3 whole tip. Owners of
the first shipping version of the S1 who upgraded to this new steam arm when it
was first made available received a 4 hole tip that was deemed unsatisfactory by
most owners. Contact Chris Coffee for an upgrade to the 3 hole tip.
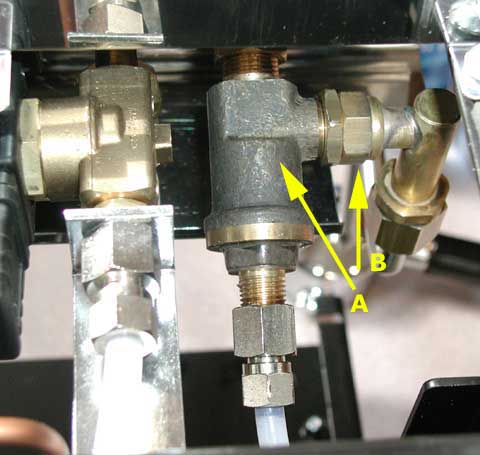 |
R&R Process - Top View
With the warming tray and left side
panel removed, remove the old arm by loosening the adjacent lock nut and
unscrewing nut B.
Next rotate this fitting (A) so that the fitting at B is horizontal. (It
is pitched downward about 45° in the original
installation.)
Lastly, screw on the new steam arm and tighten
the lock nut. The final installation should appear as at left. |
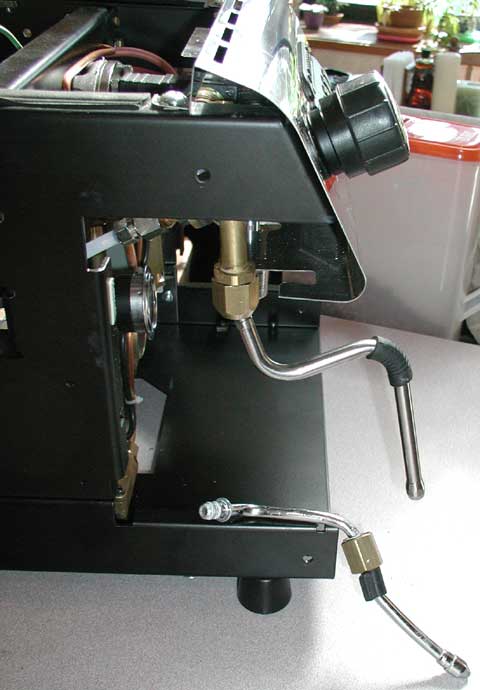 |
New versus Old Steam Arm
Here is a side view with the left side panel still
off. You can see that the new arm extends out further than the old steam
aem and can be vertical with respect the
the surface of the milk.
The old steam arm is shown at the bottom for comparison. It is clear
that the angle of the old wand made it impossible to insert vertically
into the milk. |
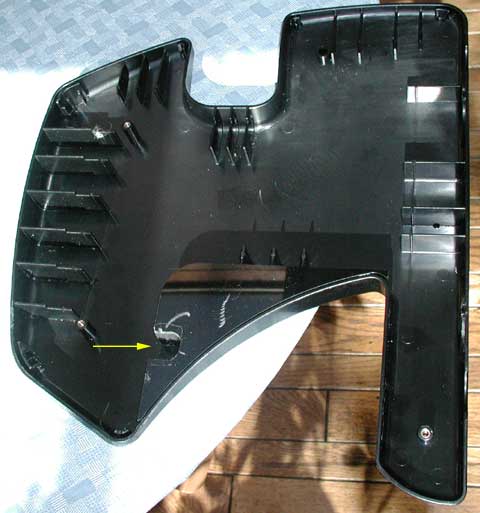 |
Side Panel Modification
You will note in the
above photo the large brass nut at the top of the swivel arm. This
extends toward the left side panel further than the old steam arm fitting.
It is necessary to cut a notch at the location shown by the arrow.
This allows the nut to fit into this opening. Without this notch the
side panel will not go back on.
Tin snips were recommended. However, after the first snip I got
nervous that I might inadvertently put a large crack in the hard
plastic, so I opted for a dremel. A round file would also work if you
have lots of time on your hands.
|
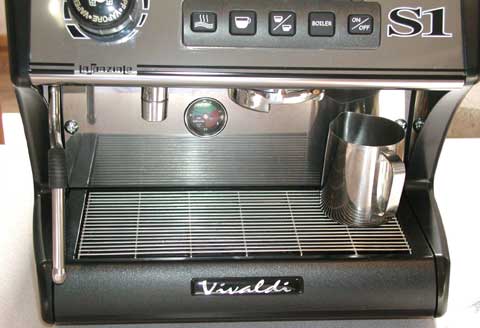 |
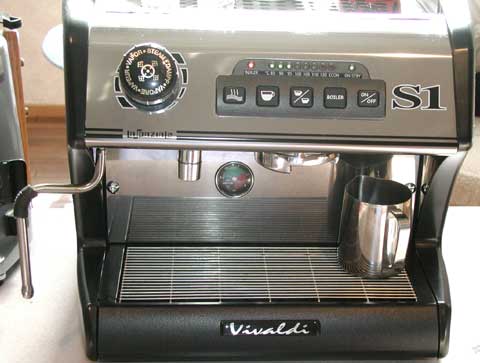
Normal Front Steaming Position |
 |
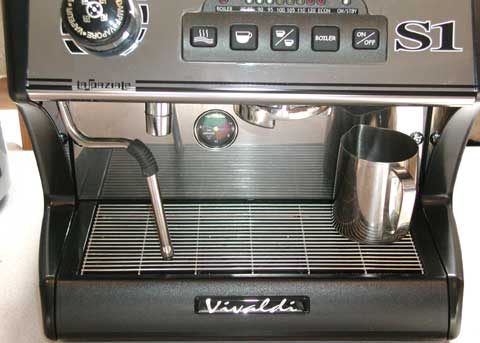
Optional Side Steaming Position |
 |
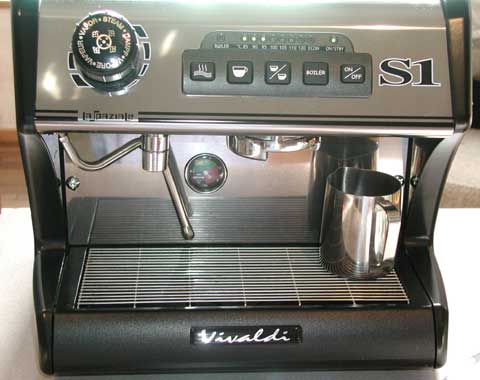
Wand Swiveled Over Drip Tray
Probable normal stowage
position, if not just left out in front of the drip tray. |
 |
Wand Behind Hot Water Faucet
For those that never steam,
the new wand has enough freedom of movement to tuck back behind the hot
water spigot. |
|
